So I'm setting up a home office and desperately wanted an affordable desk!!!
I have always been known, to be impulsive!!! And this morning I woke up tapped into my Crazy and decided to purchase a fixer upper.
When the desk arrived, below was the look I would have wanted on my face...

Instead I politely smiled and asked "is this the desk ?"
So after a very long leisurely lunch, i decided to put on my big girl panties and proceeded to take on my mammoth task... "Eish Lynne Ne"
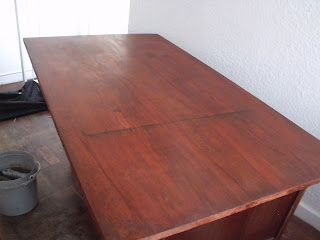
The Mammoth!!

DIY Like Me !!!

The products I used.
Step 1. I started by cleaning the table and with the scraper I took off the old edging.

Step 2. Sanded the desk "oi va voi"

Step3. Turned the desk over and removed the rotted plywood,
sanded the surface roughly and applied a sealer.


Step 4. Brushed turpentine over the top to remove the excess varnish.
After 5 min , I cleaned the turpentine and applied the stainer. (cherry wood)
Step 5. Once the stainer dried , i applied the first coat of varnish.

To be continued .......